---
title: "Creating a Service"
slug: "creating-a-service"
tags: ["Language - English", "Area - Administration", "Area - Estimating", "Industry - Landscaping", "Type - Task (How-To)", "Role - System Admin", "Role - Branch Admin", "Role - Operations Manager", "Skill Level - 1 (Beginner)"]
updated: 2026-04-20T16:39:48Z
published: 2026-04-20T16:39:48Z
canonical: "guide.youraspire.com/creating-a-service"
---
> ## Documentation Index
> Fetch the complete documentation index at: https://guide.youraspire.com/llms.txt
> Use this file to discover all available pages before exploring further.
# Creating a Service
What is a Service?
A service is the work performed by your company. Services make up the Contract or Work Order Opportunities you estimate and must be created in the service catalog in *Administration* before being added to an estimate on an opportunity.
Some examples of services include:
- *MT - Edging Service*
- *MT - Fall Cleanup*
- *CON -* Grading
- EN - Plant Install
Requirements
To create*,* edit*,* or deactivate a service, you must have:
✅System Admin access *or* Branch Admin with *Enhanced Branch Admin Security* enabled.
Creating a Service
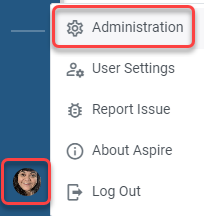
1. Click your *Profile Icon* and then select *Administration*.
2. Click *the Estimating* tab.
3. Click the Service *Catalog* tab.
4. Click the blue *New* button.

The *New Service* screen will appear as shown below!
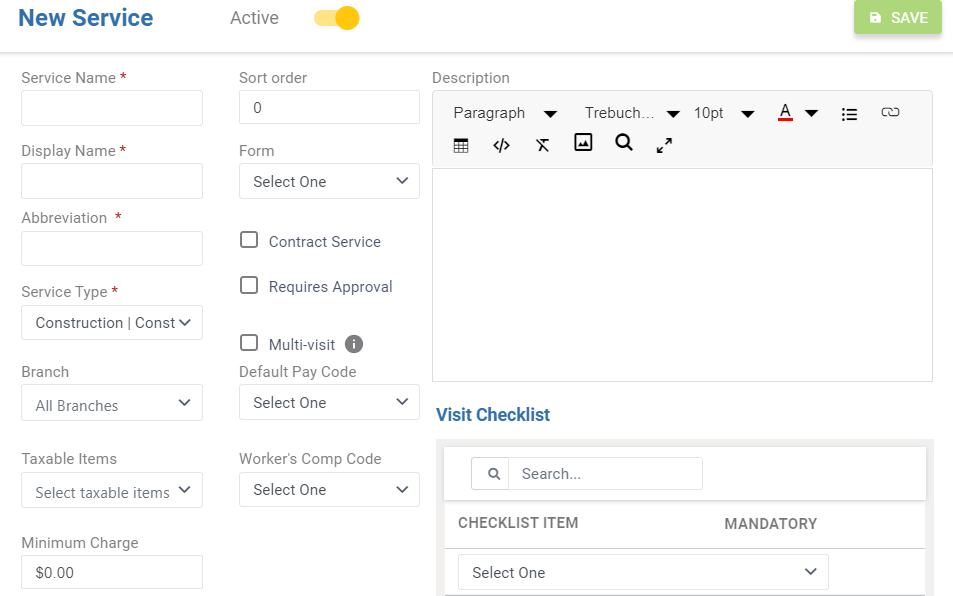
5. First, enter the *Service Name* using a prefix for the matching division.
💡 Using a *division* *prefix* helps determine which service should be used for an opportunity if you have multiples of the same *services* with but in different *Divisions*.
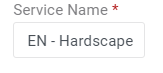
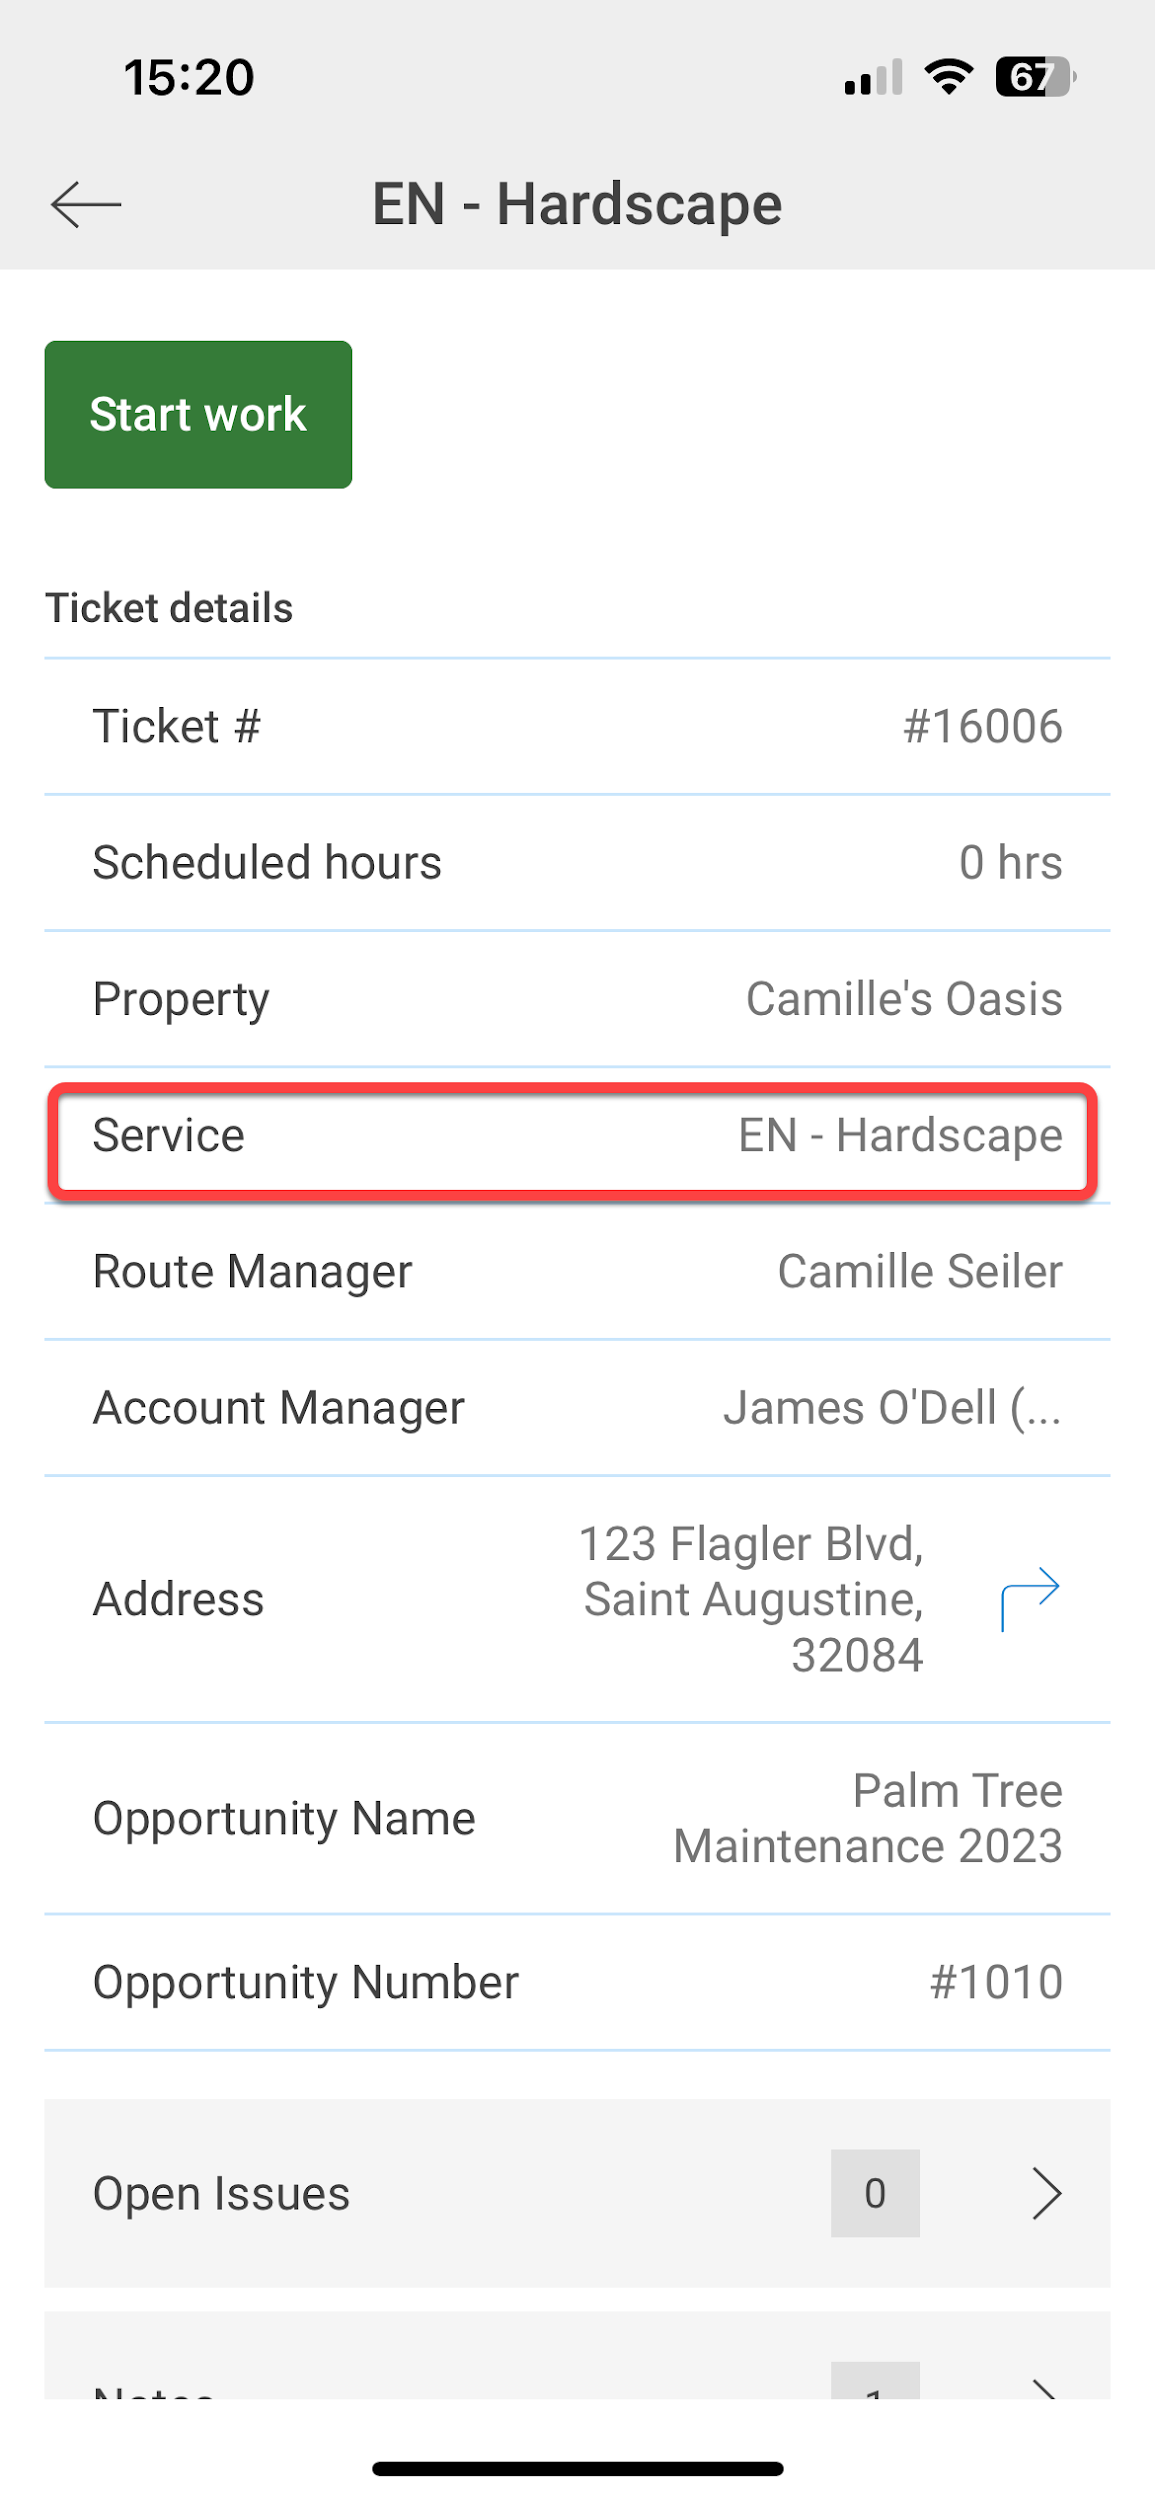
For example, if you are creating a new service for *Planting* under your enhancement division, you would enter *EN - Hardscape* as the *Service Name.* EN would be the prefix representing *Enhancement*. Think of service names as a pricing category to use before you get to your proposals to add additional details!
🧠 The *Service Name* shows in *Aspire Mobile* to your *Crew Leaders* within a Ticket.
6. Next, enter the *Display Name.*
*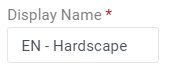*
The *Display Name* is what will be *display* on your opportunity and invoice layouts. This will automatically populate when the *Service Name* is entered, so if you’d like something different on your final invoice to your customer, then change the name here.
📌 Note: You can also override this name and change it to something else during estimating on the *Service Details* screen.
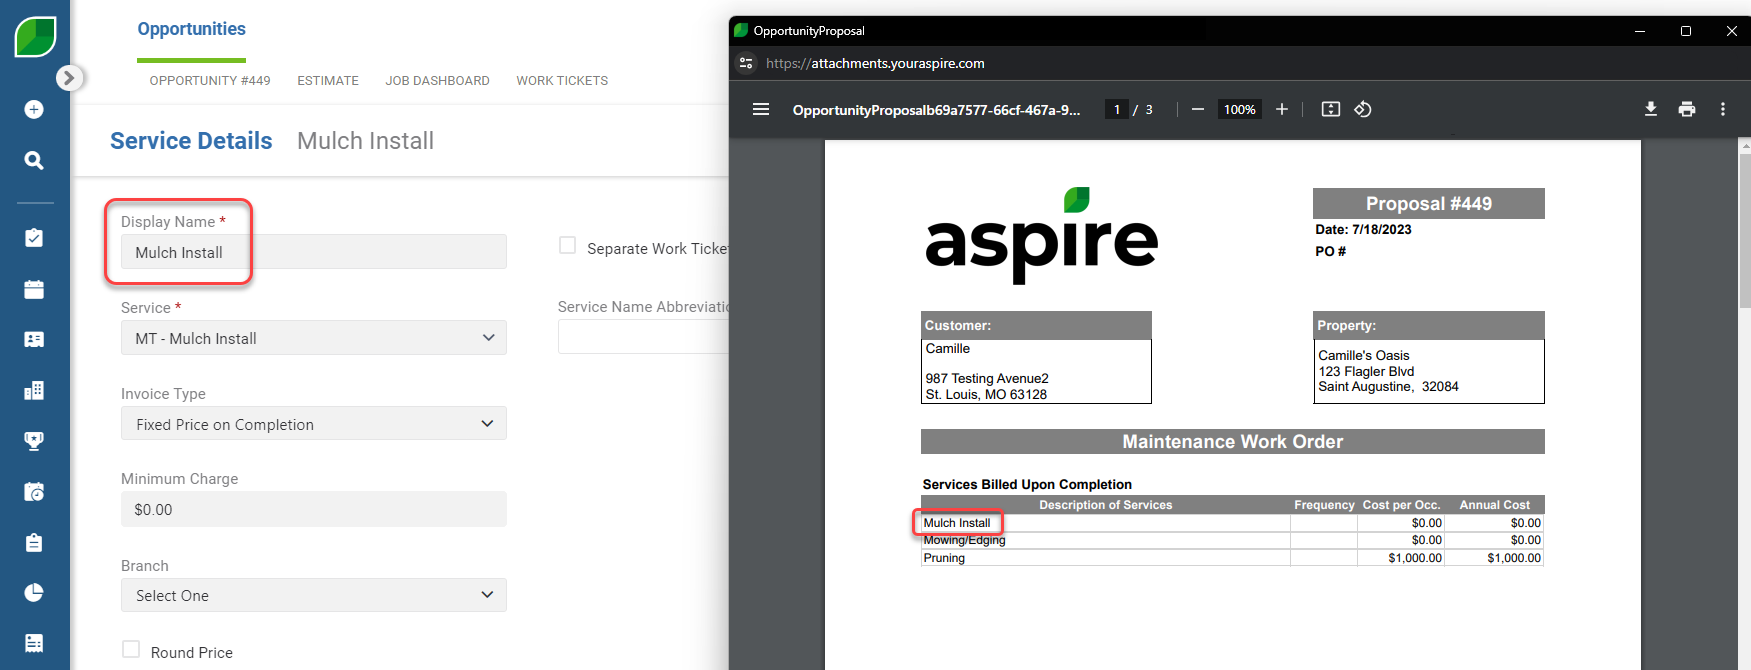
⚠️ Check your spelling since this is how this service will be displayed to your client.
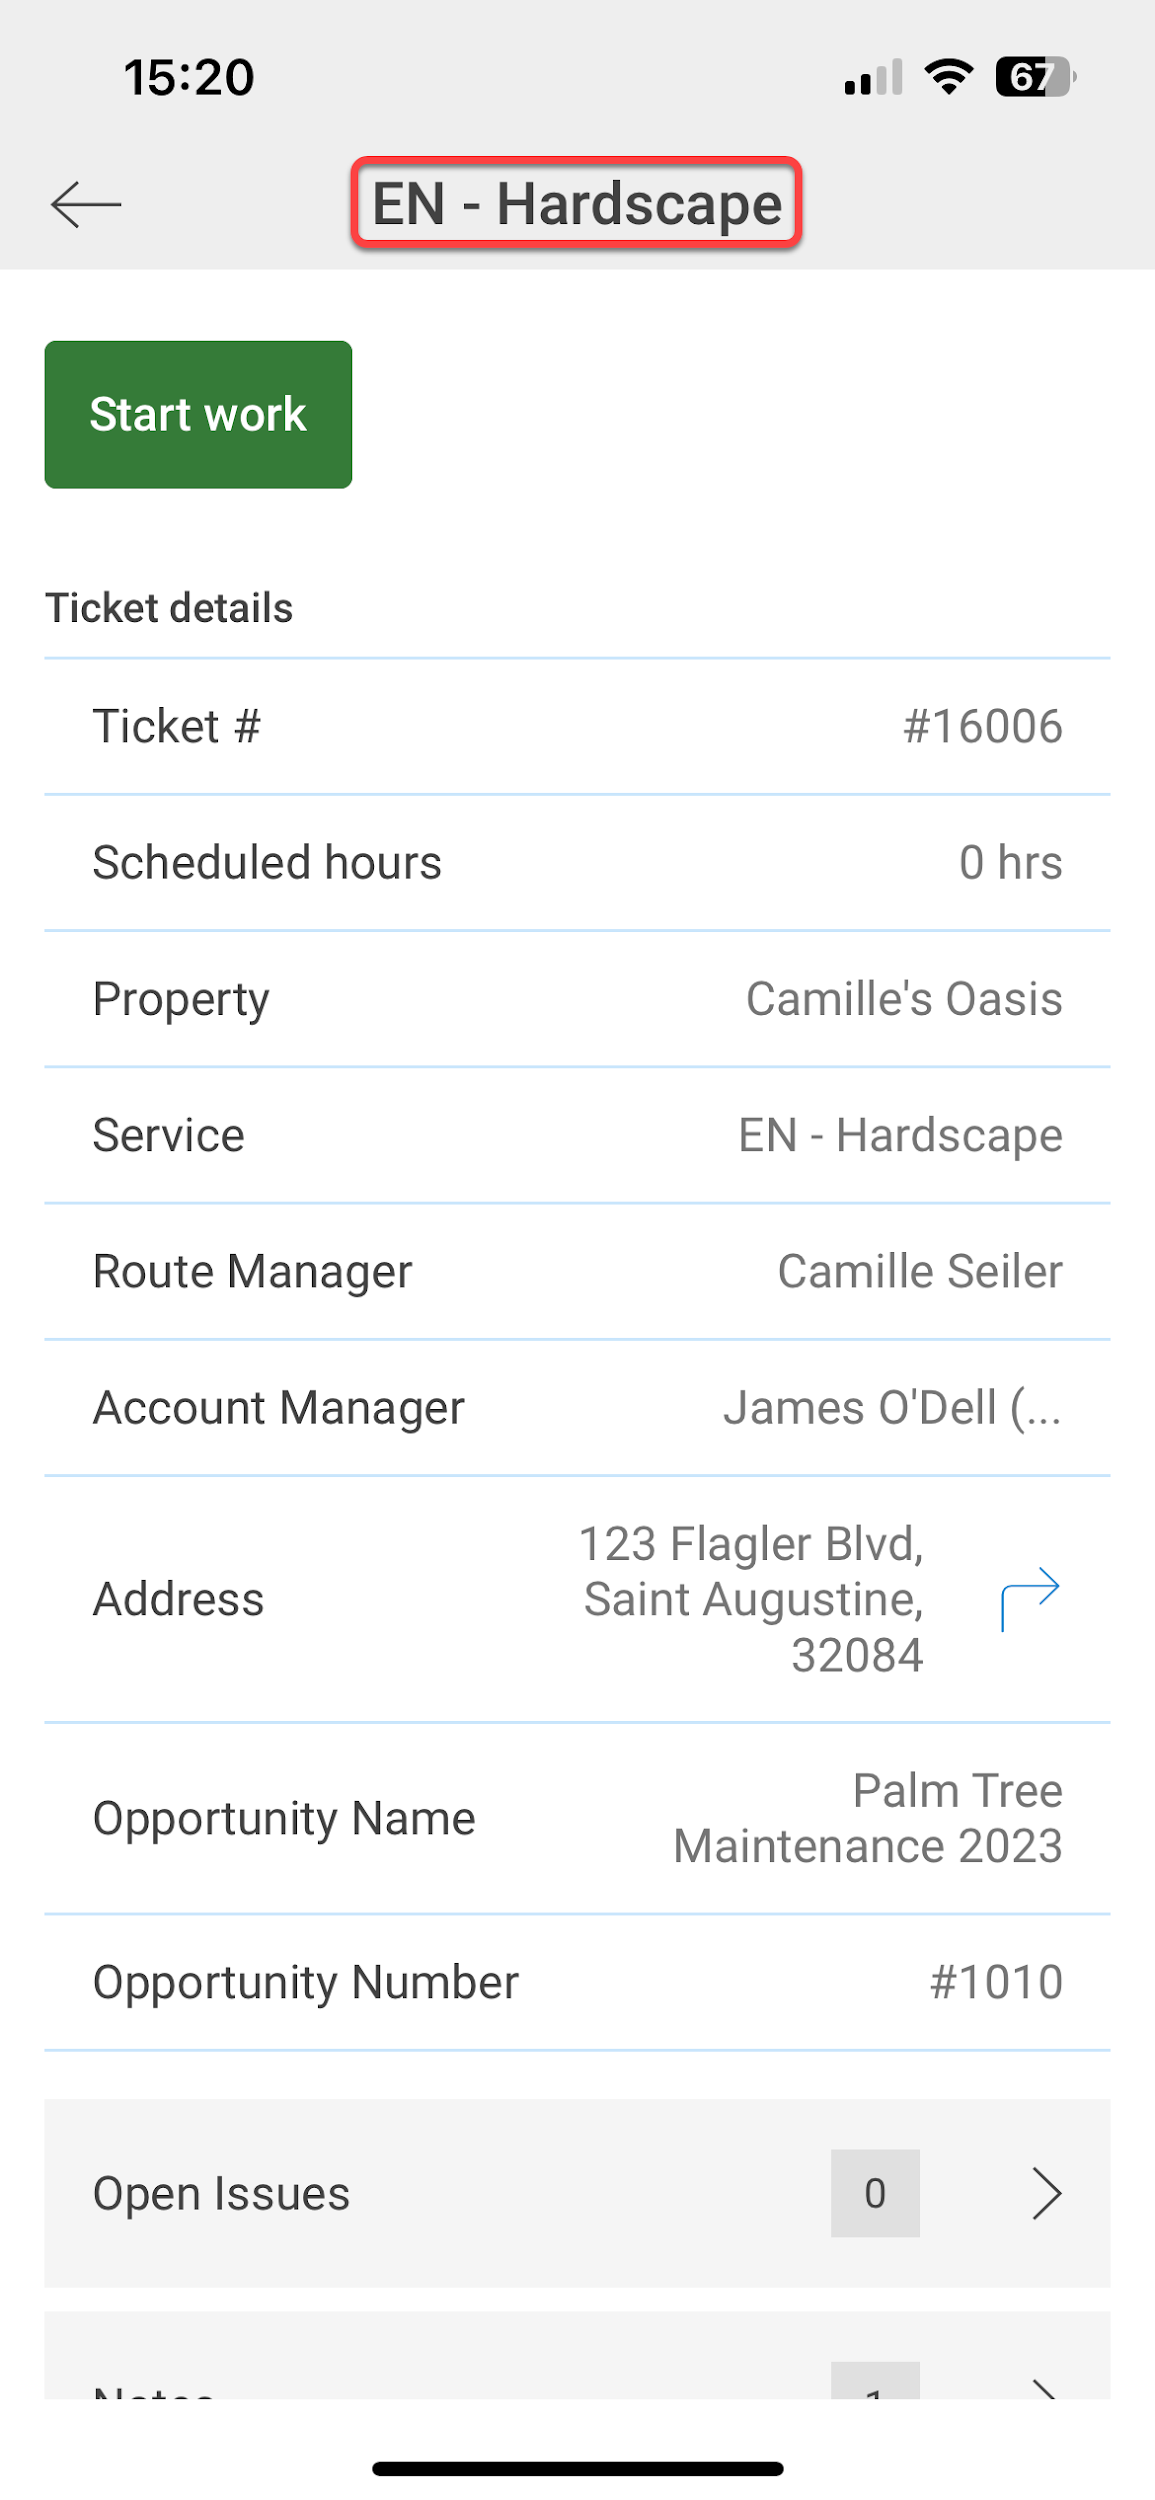
🧠 The *Display Name* shows in *Aspire Mobile* to your *Crew Leaders* within a Ticket.
7. Enter the *Abbreviation*. This is limited to 20 characters.
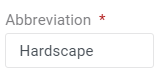
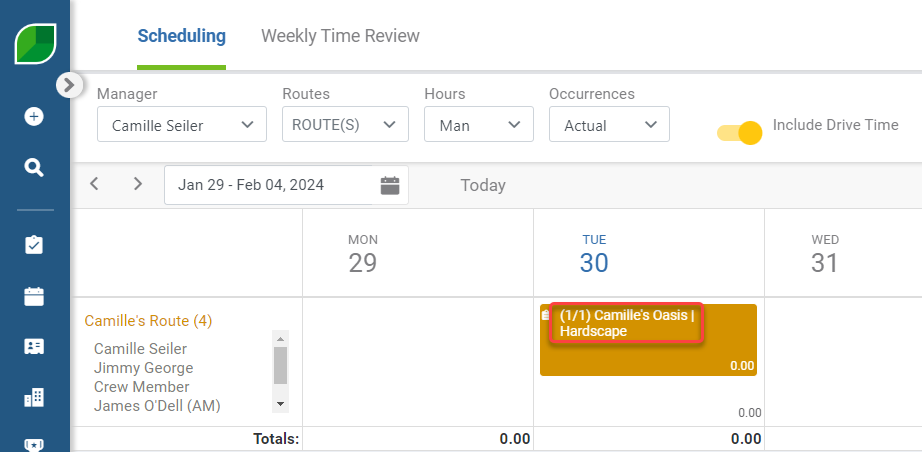
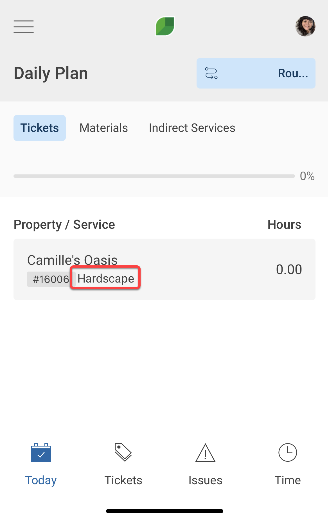
The *Service Abbreviation* is also how the service name is displayed on the *Schedule Board* and in *Aspire Mobile on the Daily Plan screen*:
8. Select an existing *Service Type*. *Service Types* are used to classify services and associate each service with a division.
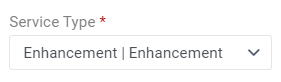
As a reminder: Service types must be created before they can be added to services. *Service Types* provide finer details of P&L than what is calculated just by divisions. However, they are not as granular as services.
📑Click [here](https://guide.youraspire.com/docs/creating-service-types) to review Aspire’s service types article!
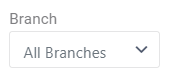
9. Select the specific branch where the service will be available or leave it blank if available for all branches.
10. Select the item types that are taxable.
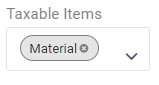
The *Taxable Items* field lets you specify which item types are considered taxable for the service in the service area.
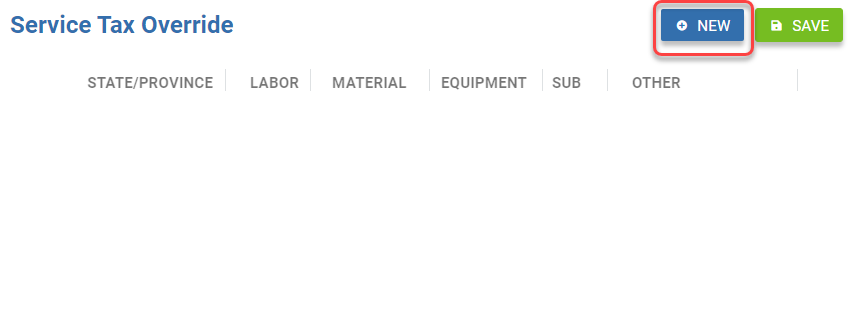
If your company does business in multiple states that have different taxation requirements, you can set exceptions to the taxable item by state or province by clicking the *Service Tax Override* icon to display the *Service Tax Override* screen.

Create *Service Tax Overrides* for additional states by clicking the plus icon.
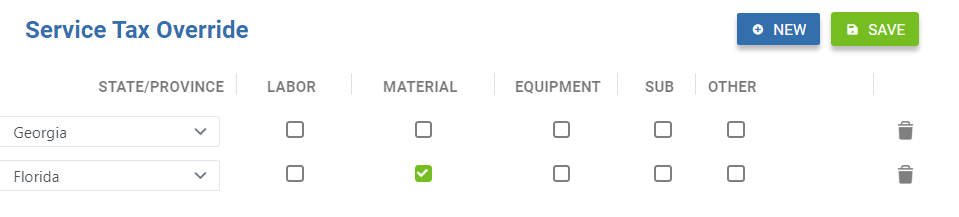
When this is done, a new line will be added to the list at the bottom. Select the state or province for which the override should be created and click the checkboxes for the items taxed in that state.
If your company is not required to collect taxes in any of the service areas, you do not need to add any item types to the *Taxable Items* field.
11. If desired, enter a minimum charge that Aspire is able to recommend for the service.
The service price is calculated based on materials, labor, markup, and profit. If it is less than the minimum charge, then the minimum charge will be invoiced.

12. If needed, enter in a sort order. This affects the order in which services are added to the *Route Screen*. It also is responsible for reordering services on a contract opportunity once the estimate is saved.
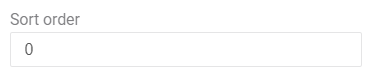
*For example, services entered for Snow could have three services with a sort order:*
1. *Snow Plow 1-3" (10),*
2. *Snow Plow 4-6" (20),*
3. *Snow Plow >6" (30).*
*If an estimator selects,*
1. *Snow Plow 4-6", (20)*
2. *Snow Plow 1-3" (10), and then*
3. *Snow Plow >6" (30),*
*Once the estimate is saved, the services will be reordered to:*
1. *Snow Plow 1-3" (10),*
2. *Snow Plow 4-6" (20),*
3. *Snow Plow >6 (30).*
1. If needed, select Custom Forms for the Crew Leader to complete during the work ticket lifecycle.
- **Start Form:** Select a published **Start Form** for the Crew Leader to complete before starting work on the ticket. **Start Forms** are commonly used for safety assessments or other required pre-work checks. The drop-down list displays only published **Start Work** forms that have been assigned to services in Aspire Desktop.
- **Complete Form:** Select a **Custom Form** for the Crew Leader to complete once the work ticket has been completed.

📑To learn more about *Custom Forms in Aspire Mobile*, please read [this article.](https://guide.youraspire.com/docs/using-custom-forms-in-aspire-mobile)
📑To learn more about *Custom Forms* in *Crew Mobile*, please read [this article](https://guide.youraspire.com/docs/crew-mobile-in-the-field#clock-out-forms)
14. Check the box if the service should be available on *Contracts.* The *Contract Service* checkbox allows you to choose if a service will be available when estimating a contract.
Services are available for work orders regardless of whether this checkbox is checked.
15. You can also check the box to *Require Approval* before the ticket can be invoiced.
When this box is checked, any ticket completed for the service must be approved before it can be invoiced.
📌 Note: It’s recommended that all T&M services should require approval.
16. The *Multi-Visit* checkbox allows crew leaders to complete the work ticket and any requested forms, without putting the work ticket in *Complete* status. It also allows auto expenses for subcontractors to be purchased per time-period rather than requiring that the work ticket be complete.
🧠Multi-visit services are commonly used for *Seasonal Snow Contracts* wherein a single work ticket is established for the entire snow season. Time is allocated to those work tickets through multiple visits as needed.
Check this box for your services that need to be used as multi-visit services.
17. *Default Pay Code* is used to specify a particular pay code associated with that service and overrides the employee’s standard pay code. This is commonly used for speciality or snow services since employees are often paid a premium for working on these types of services.
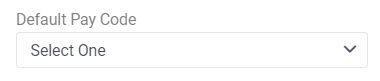
📑To learn more about *Snow Pay Codes,* please watch [this video.](https://guide.youraspire.com/docs/snow-administration)
18. *Workers’ Comp Code* can be used by a payroll provider to specify hours worked within a workers’ comp code.
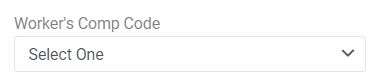
This field can be used by companies that integrate their external payroll systems with Aspire.
*Workers' Comp Codes* can be set at the service level when exporting employee time from Aspire to another system. Workers' comp codes may also be created for individual employees or divisions.
When an export for employee hours occurs, the workers' comp code exported is determined based on the following hierarchy:
- The workers comp code assigned to the employee if provided is used first.
- If not, the worker comp code assigned to the service performed is used.
- If not, the worker comp code assigned to the division of the service is used.
📑To learn more about Payroll integrations and their set up please visit [here](https://guide.youraspire.com/docs/payroll-setup-for-quickbooks-desktop) for *QuickBooks Desktop*, and [here](https://guide.youraspire.com/docs/payroll-setup-for-other-payroll-systems) for other payroll systems.
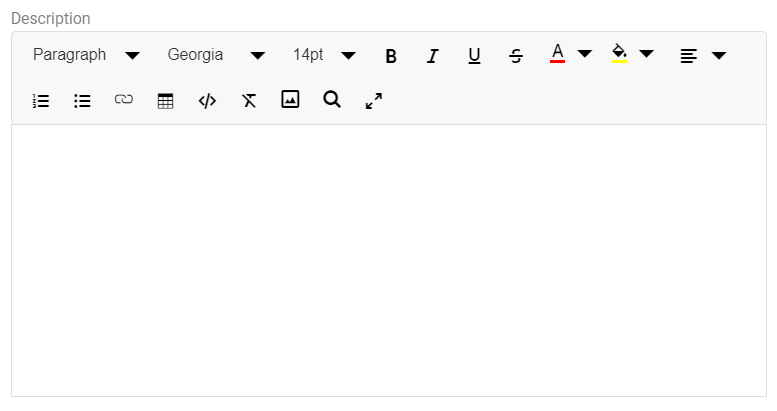
19. *Service descriptions* are commonly displayed on a proposal layout to further describe the service to a client.
Here’s an example of a proposal with the service description included:
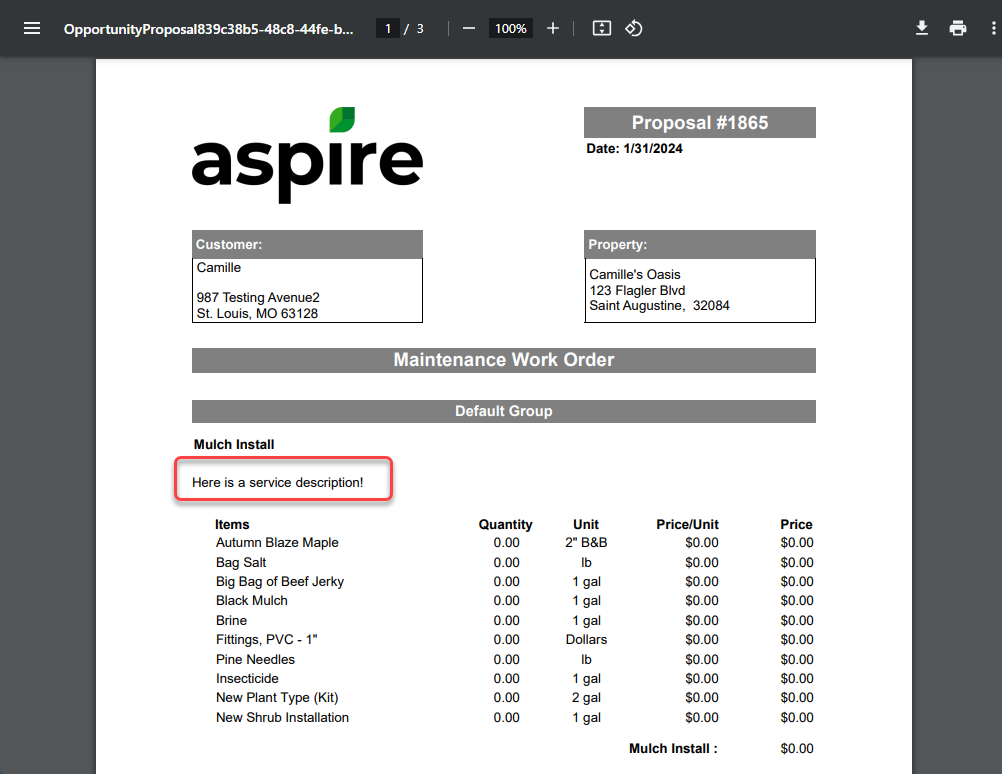
📌 Note: *Service Descriptions* are available to be displayed on opportunity proposals, but not available to be displayed on *Invoice* layouts.
20. Next, review if you need to add a *service schedule*.
⚠️ In order for the *Service Schedule* to appear on the *Service* details screen, you will need to save the *Service*, and select your newly created service from the service list. Then, you'll be able to add a *Service Schedule.*
For *contract services*, you can set standard service schedules that will be performed at standard intervals over the life of the contract.
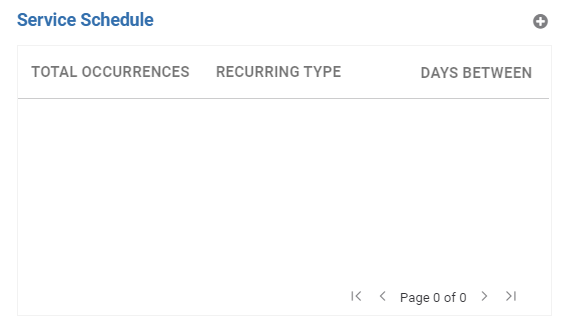
When you schedule the visits associated with a recurring service, Aspire uses the service schedule to assist with bulk scheduling visits.
You can create multiple standard schedules for a single service based on the number of annual occurrences.
A good example of this would be:
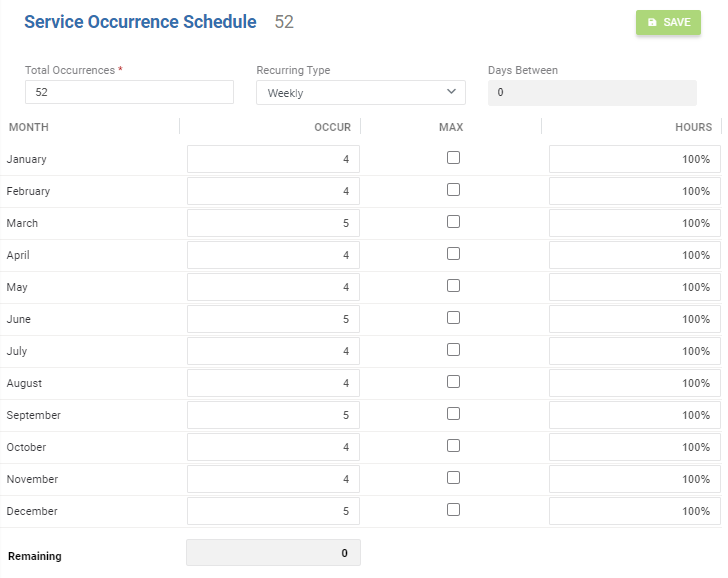
If for a service, some customers request the service every week and other customers request the service every other week. You could create two *Service Schedules* on the *Service Screen*: one for 26 occurrences for the service that will be performed every other week and one for 52 occurrences which will be performed every week!
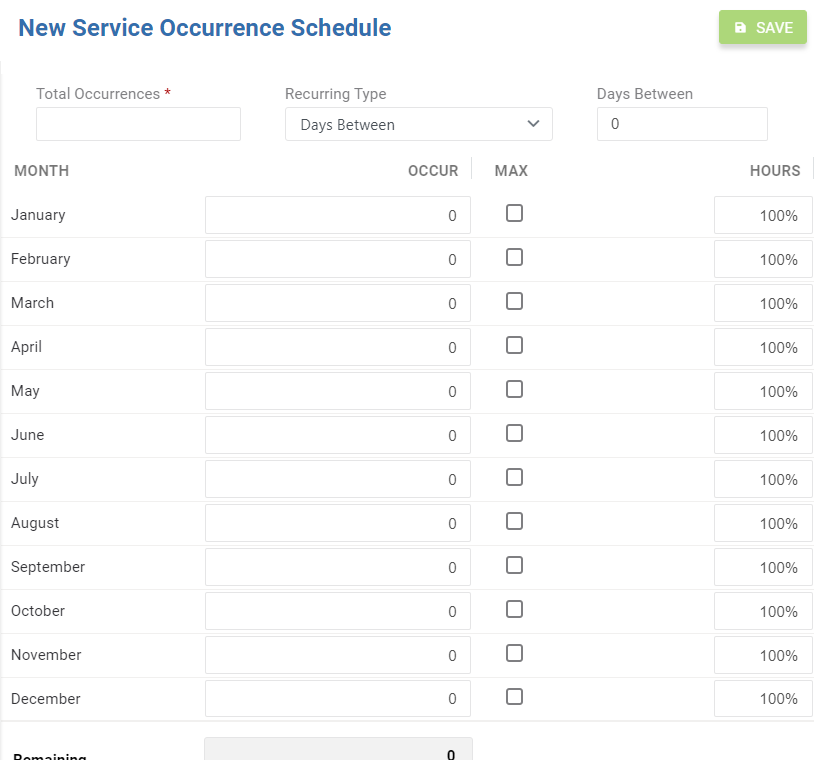
The *Service Occurrence Schedule* screen allows you to set standard service schedules for contract services that will be performed at standard intervals over the life of a contract.
📌 Note: If you select the *Max* check box, the scheduler cannot create occurrences greater than that shown in the *Occur* column for the month. This is used to enforce terms of contracts.
Here is an example of what a weekly service schedule (with 52 occurrences) may look like:
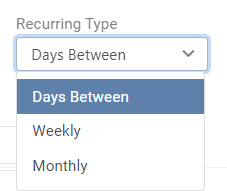
Under the *Total Occurrences* field, you can specify the number of service occurrences for this schedule. For the *Recurring Type* field, you can choose different options to specify how Aspire will schedule recurring visits for the service:
The *Hours* field in each column allows you to set a percentage that Aspire should adjust the number of hours to perform the service in a specific month.
A good example of this would be:
Grass grows faster in certain climates in different seasons. An example of this would be from Spring through Fall, you may see mowing at 100% and during the off season, such as November thru March, you may see it as 75%.
With this information filled in, Aspire auto adjusts scheduled hours.
For more information on how adjusting the *Service Occurrence Schedule* works, please see the [Using the Budget Hours Calculator to Validate the Service Occurrence Schedule](/user-guide/docs/creating-a-service#using-the-budget-hours-calculator-to-validate-the-service-occurrence-schedule) section below!
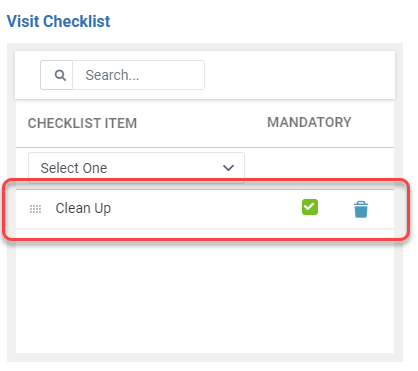
21. The *Visit Checklist* section allows you to attach checklists to services that will appear in Aspire's Mobile application. This helps your team make sure specific tasks are carried out before a work ticket is completed.
📑 To learn more about *Service Visit Checklists*, please read [this article.](https://guide.youraspire.com/docs/service-visit-checklists)
22. When finished, click *Save* in the upper right.
## Bulk Actions in the Service Catalog
The *Bulk Actions* menu allows you to apply changes to all services that are selected by checking their checkbox.
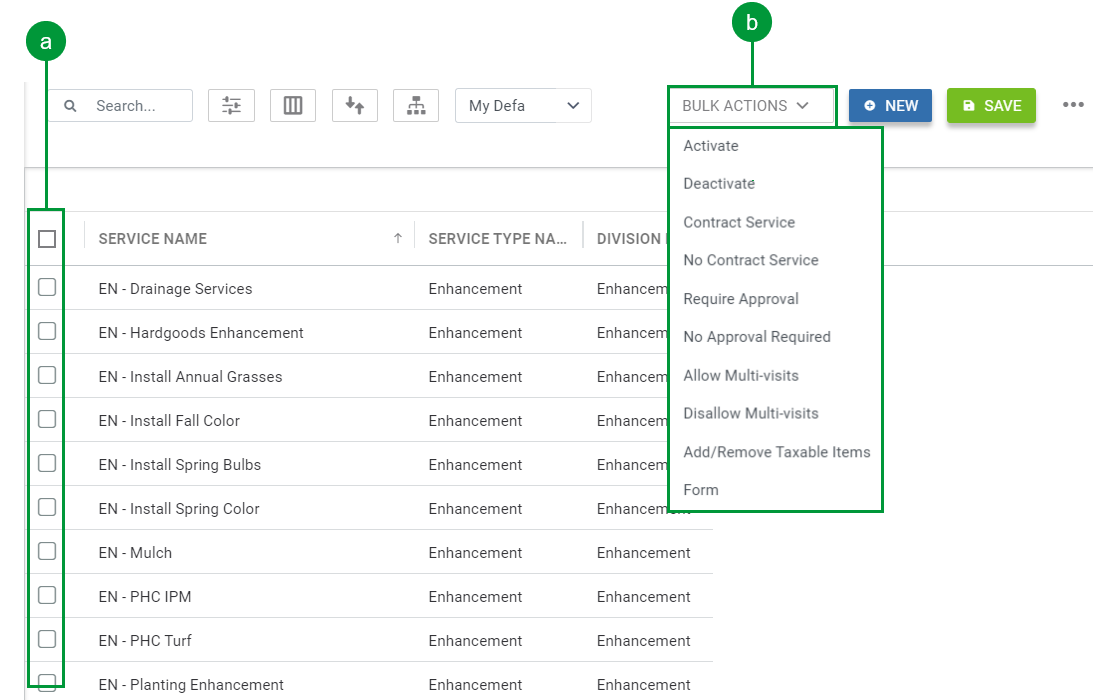
You can use the *Bulk Action* option to complete the following actions on all selected services:
1. Activate the services
2. Deactivate the services
3. Set a Contract Service flag
4. Set a No Contract Service flag
5. Update the “Requires Approval” status
6. Set the *Allow* multi-visit flag
7. Set the *Disallow* multi-visits flag
8. Add or Remove Taxable Items
9. Simultaneously assign a selected *Complete Ticket* form
Using the Budget Hours Calculator to Validate the Service Occurrence Schedule
You can use the *Budget Hours Calculator* to help understand that as you change the budgeted hours in the service total allocated hours will need to match the total monthly hours allocated!
In the below section, you will learn how to download the *Budget Hours Calculator* and you can use it to plug-in your total hours (all of the man hours that you plan on spending throughout the year), the number of occurrences (being sure the total reflects the Service Schedule in Aspire), and the percentages as needed.
Once this information is entered, you can use the calculator to help apply any changes you may need while also seeing how it affects the other values in the table and on the *Service Occurrence Schedule*.
Downloading the Budget Hours Calculator
To download:
If using Excel,
Click the button below to download a copy of the *Budget Hours Calculator*.
[**Download the Budget Hours Calculator for Excel Here!**](https://docs.google.com/spreadsheets/d/1rLtHEV9LS20s1FIs-r36gB1WqISxAAE6APF4cm3Nk5Y/edit?usp=sharing)
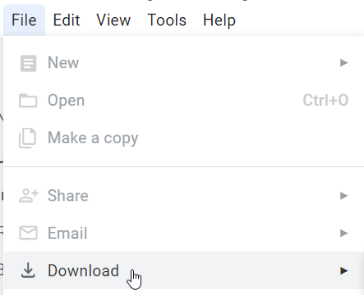
Select *File* ▶️ *Download* ▶️ *Excel.* Make sure to *Save* when filling out and when finished.
If using Google Sheets,
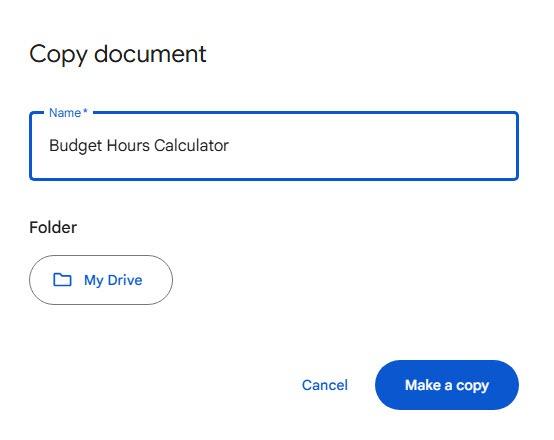
Click the button below to make a copy of the *Budget Hours Calculator*.
[**Copy the Budget Hours Calculator for Google Sheets Here!**](https://docs.google.com/spreadsheets/d/1rLtHEV9LS20s1FIs-r36gB1WqISxAAE6APF4cm3Nk5Y/edit?usp=sharing)
- You will be prompted to sign in to your Google account.
- Once you are signed in, you will be prompted to *Copy Document.* Select *Make a Copy* and the *Equipment Import Sheet* will open in *Google Sheets.*
**
- Edit the fields as needed!
---
### FAQ
#### Can you move Services to different Divisions?
You can switch services to a different *Branch*, but not a *Division.* You would need to create a new *Service Type* to assign markups to your new division.
You would need to change the *Division* on the *Service Type*. Because a *Service Type* was created, this allows you to fill in this field for your desired *Division*. The same service can be used across all *Divisions*, but note that they will be marked up differently in *Pricing Markups* in *Administration*.
If you’re using the service on a template, you would need to remove and re-add the service that was moved to any template since the old service would have had the old assigned *Division* on it.
#### Will tax changes in the Service Catalog affect opportunities that are on In Progress Contracts?
No. Existing opportunities that were estimated with the original service tax set-up will not be changed with your new tax service settings. No future invoices will be affected either.
#### Do changes I make in my service catalog affect my current opportunities?
Changes to the *Service Catalog* do not affect existing opportunities and their estimates. Any change made today would affect any *newly created* opportunities and their estimates.
#### Can a service be deleted from the Service Catalog?
Once a service is created in the system, it is not able to be deleted. However, it can be deactivated using the yellow toggle at the top of the service’s screen. Use the radio button to make the service *Active* or *Inactive*.
It’s recommended to update the *Display Name* and *Service Name* of the *Service* to include *DNU* or *Do Not Use* so if it is accidentally added to an estimate after it’s renamed, those that are bidding for jobs recognize they are using an outdated service. This especially applies when copying estimates to new opportunities.
Deactivation of a service on an opportunity with active work tickets can be done, as changes are not retroactive to services in progress; it’s a good idea to wait to deactivate services after an opportunity is *Complete*, if possible.
#### Can a service be deactivated on a an estimated opportunity?
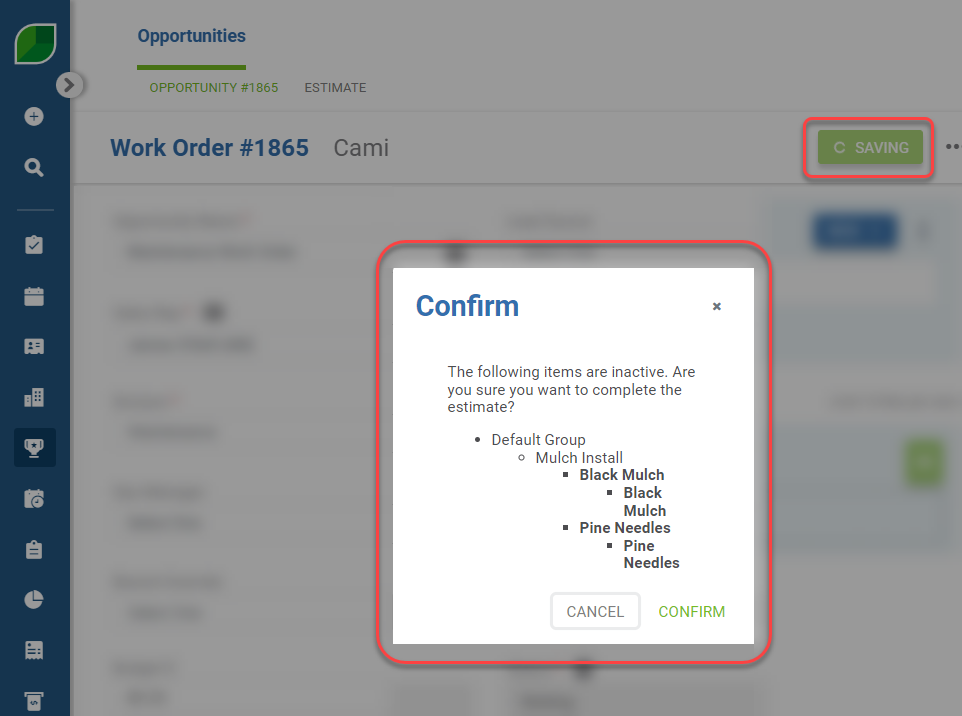
If you copied an estimate with a deactivated service, when you complete the opportunity the system will populate a box with the name of anything that is inactive.
You'll be notified there are inactive items or services on your new estimate and require you to confirm you want to proceed with creating the estimate.