---
title: "Using SMS Notifications"
slug: "using-sms-notifications"
tags: ["Language - English", "Area - Email Communication", "Industry - Landscaping", "Type - Task (How-To)", "Role - System Admin", "Role - Branch Admin", "Role - Operations Manager", "Role - Scheduler", "Skill Level - 2 (Intermediate)"]
updated: 2025-11-03T17:06:03Z
published: 2025-11-03T17:06:03Z
canonical: "guide.youraspire.com/using-sms-notifications"
---
> ## Documentation Index
> Fetch the complete documentation index at: https://guide.youraspire.com/llms.txt
> Use this file to discover all available pages before exploring further.
# Using SMS Notifications
Purpose
SMS messages are another **Notification Type** in Aspire. Sometimes, you have customers who don't read emails or prefer a short message to notify them about a service. You can reach these customers with an SMS notification.
The types of SMS notifications are *Visit Reminder*, *Work Ticket Complete*, and *Absentee Notification* (Internal).
- *Visit Reminders* remind your customers about an upcoming service visit.
- *Work Ticket Complete* notifications are sent based on the trigger you select during setup. You can notify customers when the Work Ticket is completed in Aspire Mobile, the Subcontractor Portal, or Aspire Cloud.
- *SMS Absentee Notifications* are for internal use only and send a message when a crew member doesn't clock in for a scheduled Work Ticket. This helps you monitor your onsite teams and stay on track with daily workflows.
Before you begin
Before setting up an *SMS notification*, confirm that you have:
- Assigned the correct user role permissions to *Manage Notification Settings*.
- Set up your *Contact* records to receive *Notifications.*
For more information on these steps, see [Email and SMS Notification Overview](/user-guide/docs/email-and-sms-notification-overview).
Important things to know
The following is information to keep in mind for SMS notifications:
- All messages should state the name of your business.
- Your carrier sends messages that are over 160 characters as two separate messages.
- We strongly recommend you include opt-out instructions in your messages that direct customers to text `STOP`, `Stop`, or `stop` to your toll-free number.
- You can enter text and add tokens to communicate important information to your customer.
- There is a maximum limit of 320 characters to ensure the message is concise. For more detailed messages, you can create an email notification.
Opting in and out
All SMS messaging must comply with applicable laws and regulations, including the Telephone Consumer Protection Act (TCPA). Because of this, Aspire includes additional opt-in functionality for SMS messaging.
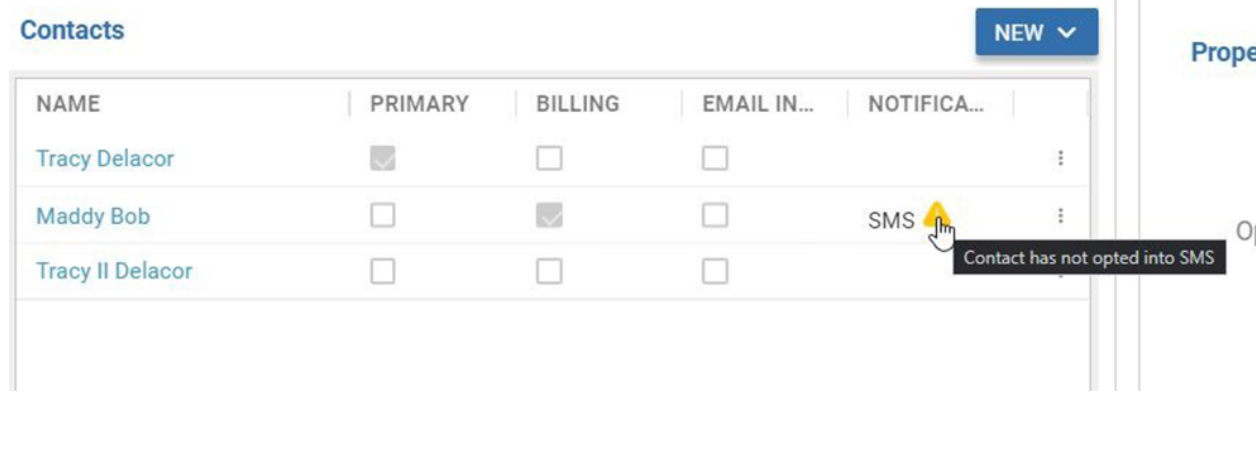
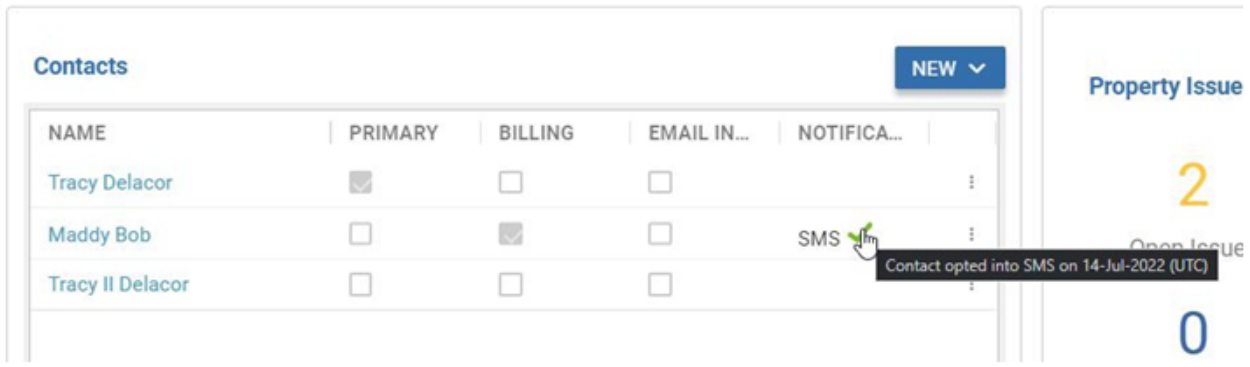
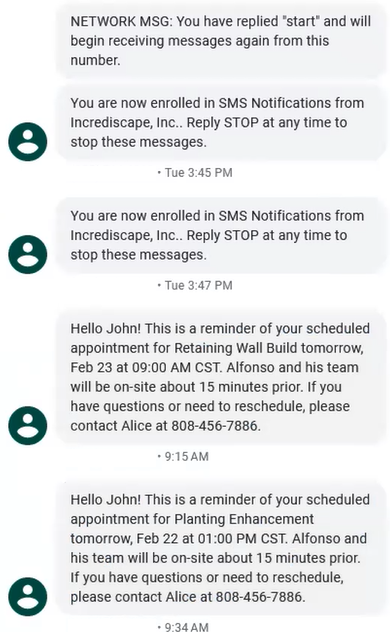
After you select **Save**, Aspire sends your customer a message to confirm they want to receive SMS messages from your company. You can view their real-time opt-in status in the **Notifications** column on the *Property Details* screen.
- A **warning icon** indicates the customer has not opted-in yet.
- A **green checkmark** indicates the customer has confirmed their opt-in.
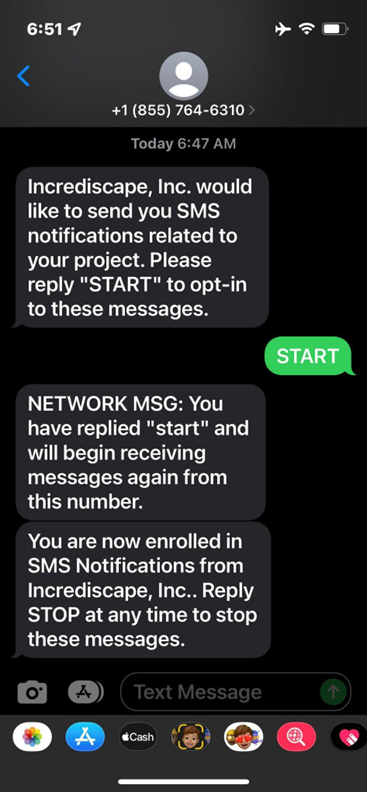
To opt-in, your customer must reply with `START`, `Start`, or `start` to the opt-in message.
- To opt-out, your customer can reply `STOP`, `Stop`, or `stop` to your toll-free number at any time.
- To opt back in, the customer must send `Start` or `unstop` to the toll-free number.
> [!NOTE]
> **Note**: If you update a customer's phone number, they will be opted out and must re-opt-in.
## Update multiple contacts with a bulk action
> [!WARNING]
> **Disclaimer**: We do not recommend using **Bulk Actions** to set the SMS Notification Contact without prior consent from your customers. If your customers reported your message as spam, telephone providers could flag and block your toll-free number.
To update multiple contacts:
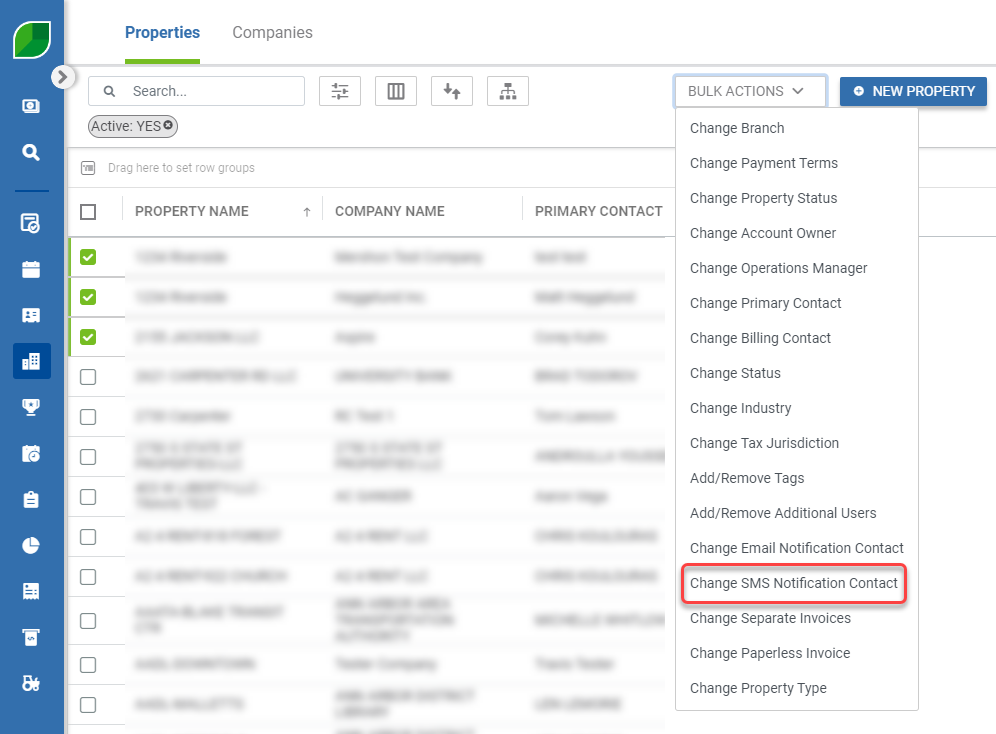
1. Select the checkboxes for the properties you want to update.
2. In the upper-right, select **Bulk Actions**.
3. Select **Change SMS Notification Contact**. The top options in the menu will be **Primary Contact**, **Billing Contact**, and **Email Invoice Contact**.
**
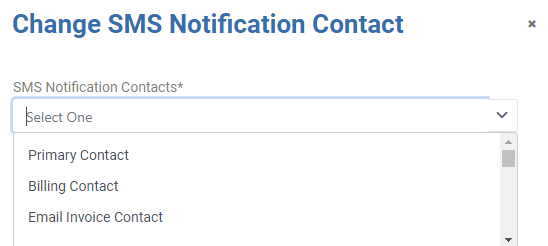
⚠️ Be careful as you can potentially associate contacts with a property they shouldn’t be associated with.
Creating an SMS notification template
To create an SMS notification template, configure the fields from the *New Notification* screen, test, and then save your notification.
1. Go to **Notifications** > **Manage Notifications**. 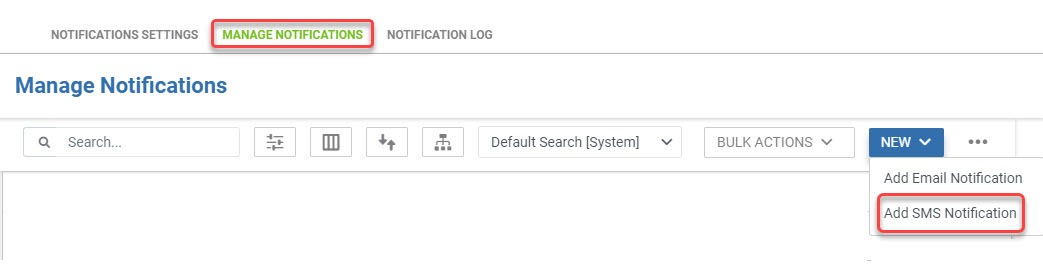
2. From the **New** menu, select **Add SMS Notification**. 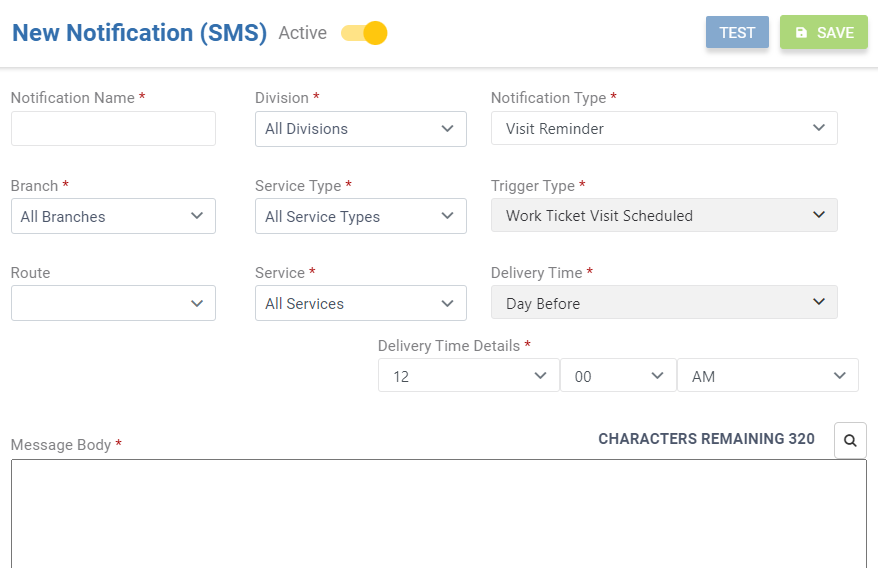
3. In the **Notification Name** field, enter a name that clearly describes the reminder.
1. **Example**: *St Louis - Weekly Maint - Weekly Reminder*
4. From the **Branch** menu, select the branches that will use this reminder.
5. **Optional:** From the **Route** menu, associate the reminder with a time-based or sequenced route.
1. **Note:** You must set a time-based route under the *Route(s)* field to use *Time-based Visit Tokens* in the *Message Body* field.
6. From the **Divisions** menu, choose the divisions for this reminder.
7. From the **Service Type** menu, select the service types for this reminder.
8. From the **Service** menu, select the service for this reminder.
9. For **Notification Type**, select **Visit Reminder**.
10. The **Trigger Type** defaults to **Work Ticket Visit Scheduled** and cannot be changed.
11. For **Delivery Time**, choose to send the reminder 1–31 days before the scheduled visit.
12. In **Delivery Time Details**, set when the reminder is sent. You can set the minutes to 00, 15, 30, or 45.
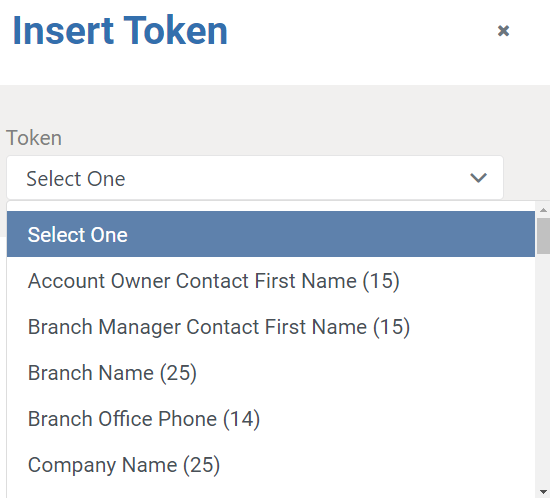
13. In the **Message Body** field, type your message. To add tokens, select the **Search** icon.
1. Manually typed text and tokens count towards 320-character count maximum.
Once you save your settings, you can **Test** your notification to make sure that everything looks correct when the *Visit Reminder* notification is sent to your customers.
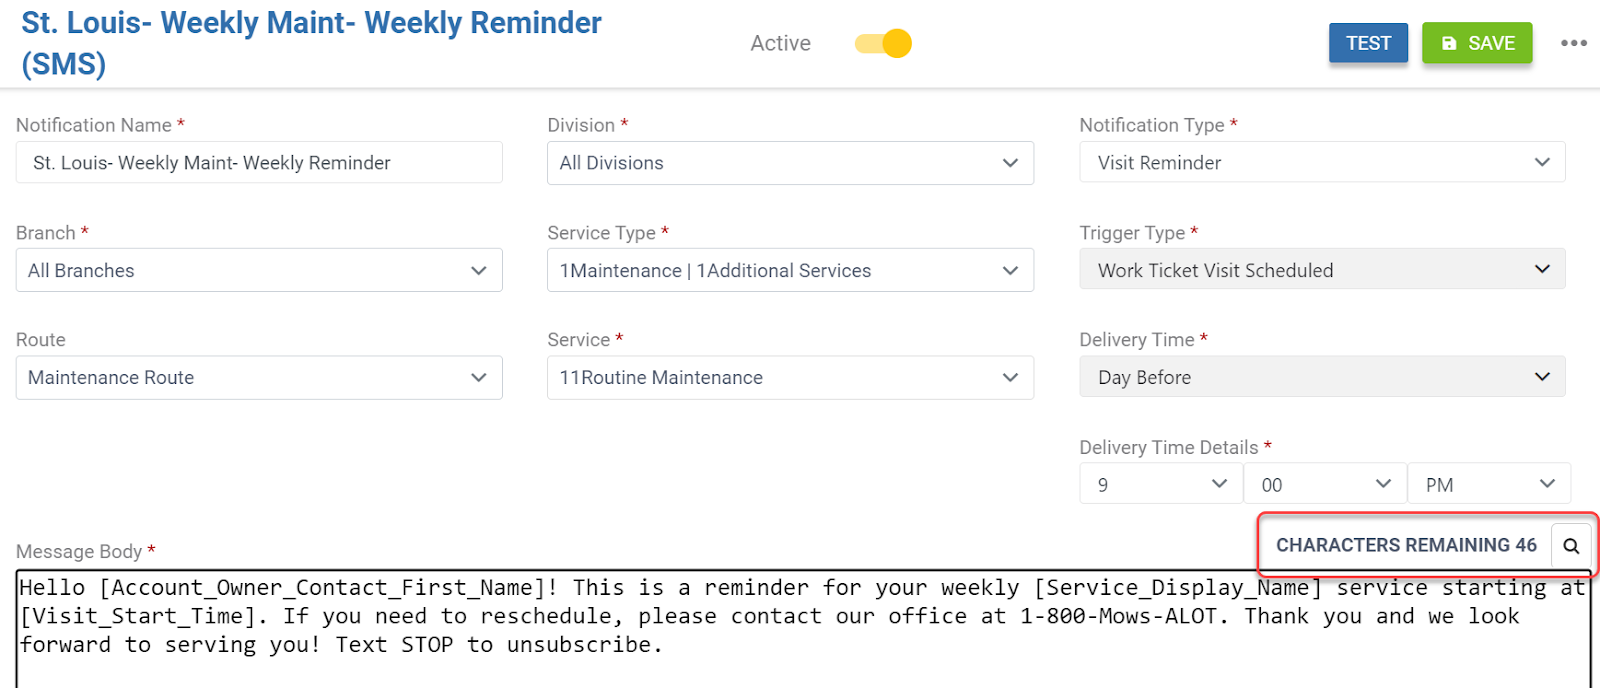
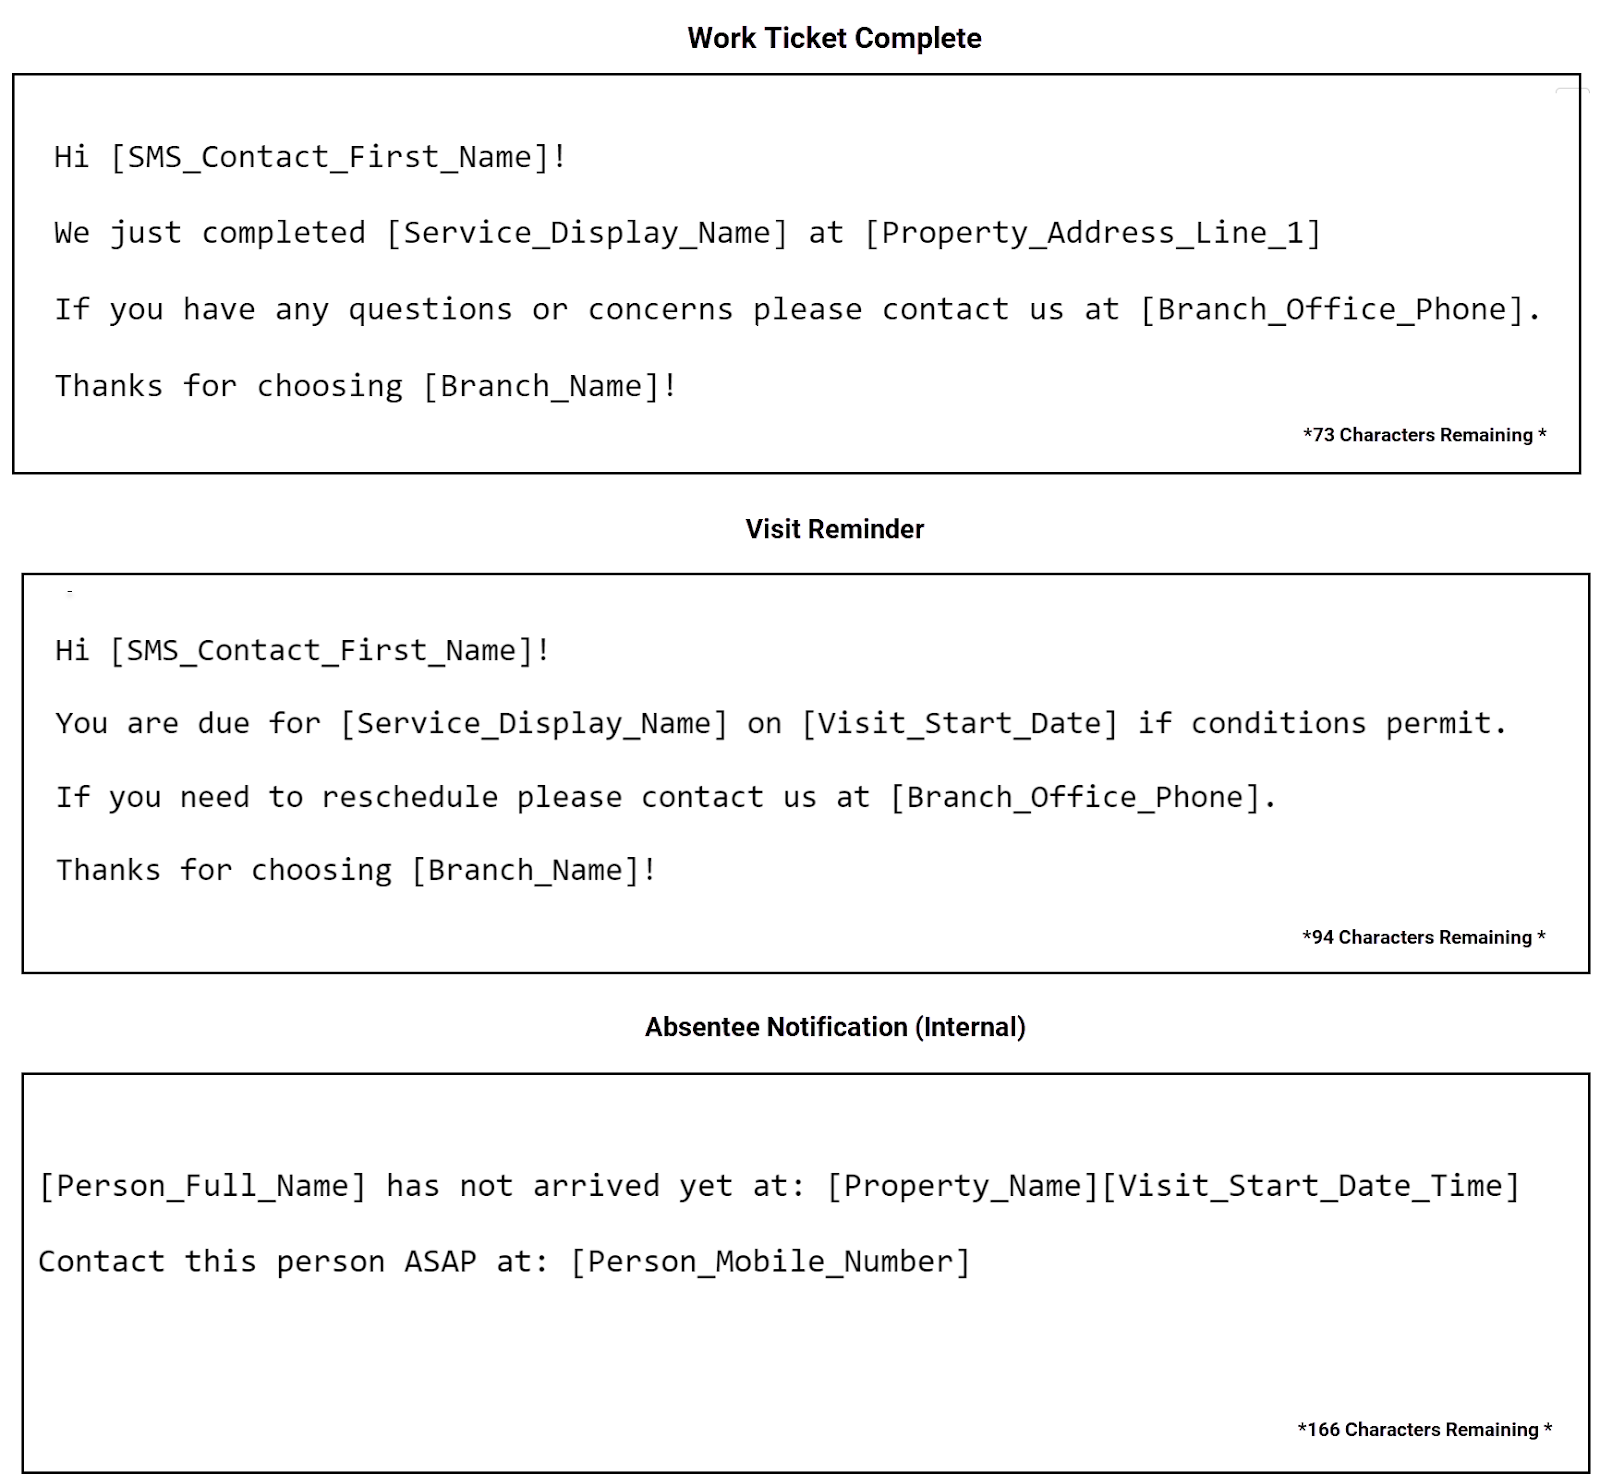
Below are the examples of Placeholder text for each SMS Notification type:
## Test your SMS notification
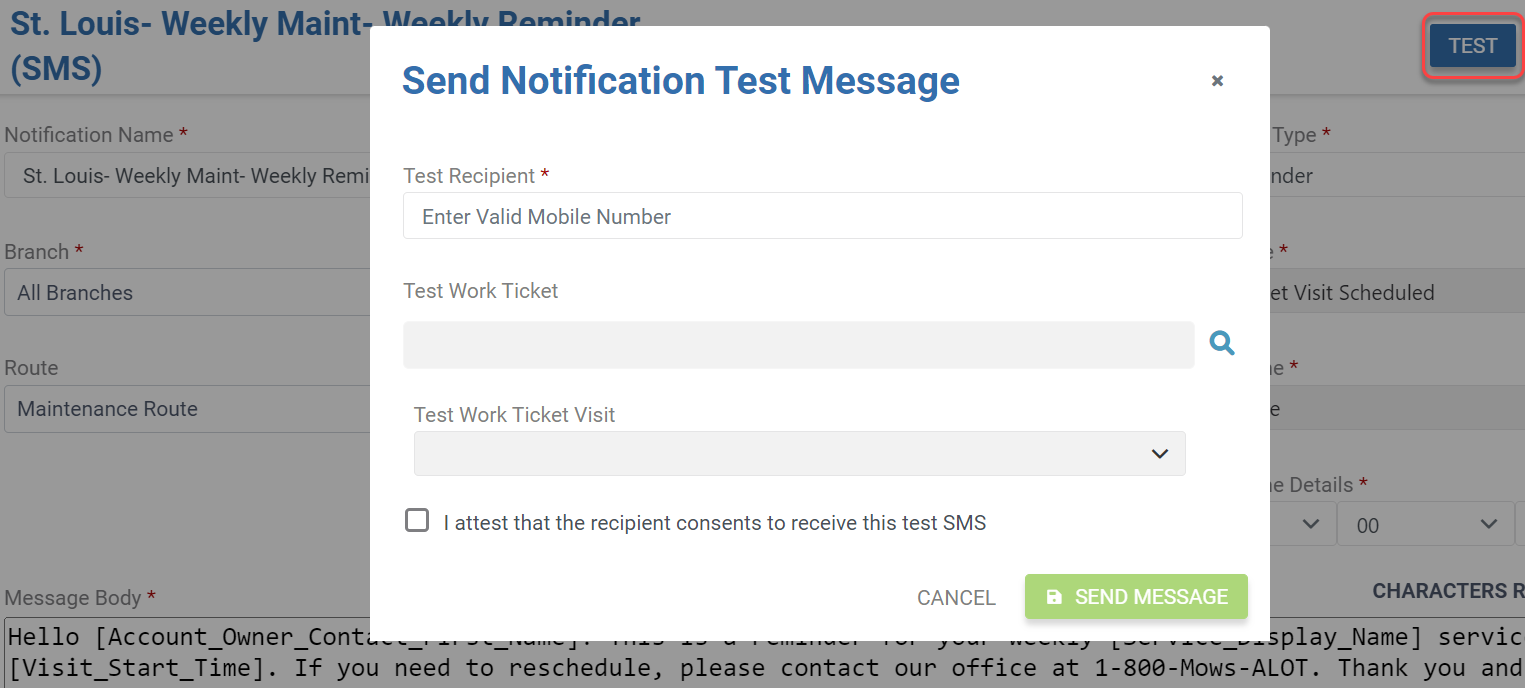
1. Select **Test** in the upper-right corner to send a preview before you save the template.
2. Enter the phone number of your test recipient and select the attestation checkbox to acknowledge consent.
3. Select **Send Message**. You receive a confirmation that the test was sent.
4. You are taken back to the *Visit Reminder* screen where you can make changes before you save the notification.
5. Select **Save** once you are satisfied with the template.
Copy a notification
You can copy a notification to use as a template for a new one.
1. Go to the notification you would like to copy.
2. From the **action menu** (...) in the upper right, select **Copy**.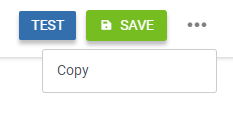
For example, a system administrator can use a main notification template, then individual branch managers can copy the template and use it for creating branch-specific notifications.
## Canceling a visit reminder
If you delete a Work Ticket visit, a cancellation notification is sent to your customer within 15 minutes. This automated message cannot be modified.
> [!NOTE]
> **Note**: A cancellation notification will not be sent if a visit is canceled or rescheduled before the original visit reminder is sent.
## Visit reminders for rescheduled tickets
If you update the date or time of a scheduled Work Ticket after the original reminder was sent, a reschedule notification is sent. The message is sent within 15 minutes of the change. If a visit is rescheduled for a future date, your customer receives two messages: the reschedule notification and a new visit reminder for the new date.
## Use the SMS absentee notification
*Absentee Notifications* are useful for tracking crew clock-ins for scheduled Work Tickets. The notification is sent to your internal team if someone fails to clock in after the designated start time. To start, create the notification template and ensure your employees have opted-in to receive messages.
The setup for an *Absentee Notification* is similar to a *Visit Reminder*, with a few different fields:
- **Recipient(s)** and **Additional Recipient(s)**: Use these fields to assign who on your internal team receives the notification.
- **Grace Period**: This field allows you to set an acceptable amount of time to pass after the *Work Ticket's Visit Start Time* before the notification is sent.
- **Property Tag**: You can filter when an absentee notification is sent for a specific property by adding property tags to the template and the property.
## Set up employee contacts for internal notifications
For your team to receive *Absentee Notifications*, you must send an *SMS Notification Invite* from their contact record.
1. On the employee's contact record, go to the **Mobile Phone** number field and select **SEND INVITE**. 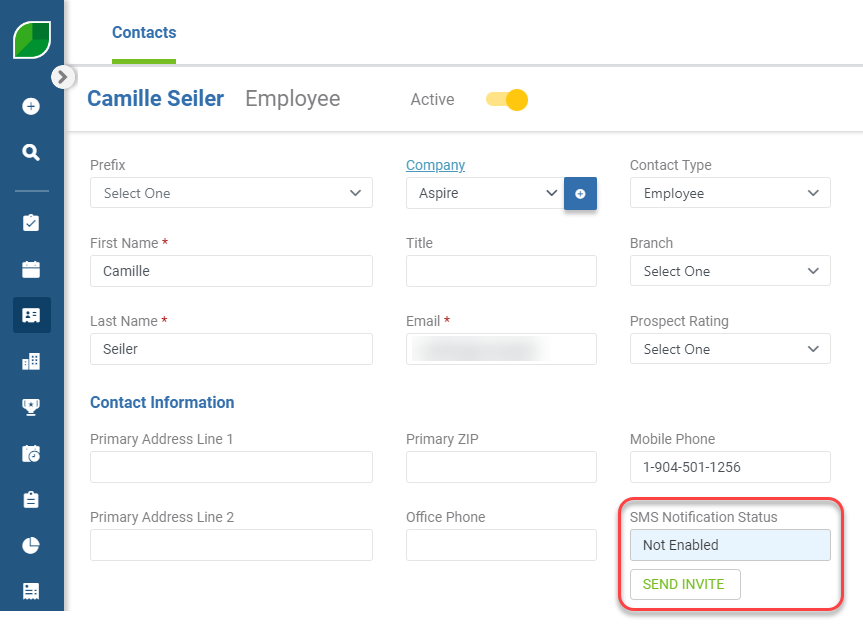
2. The field will update to **Opt-in SMS Sent**. 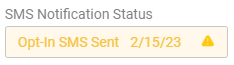
3. Your employee receives a message and must reply `START` to finish opting in, then their status shows as **SMS Enabled**.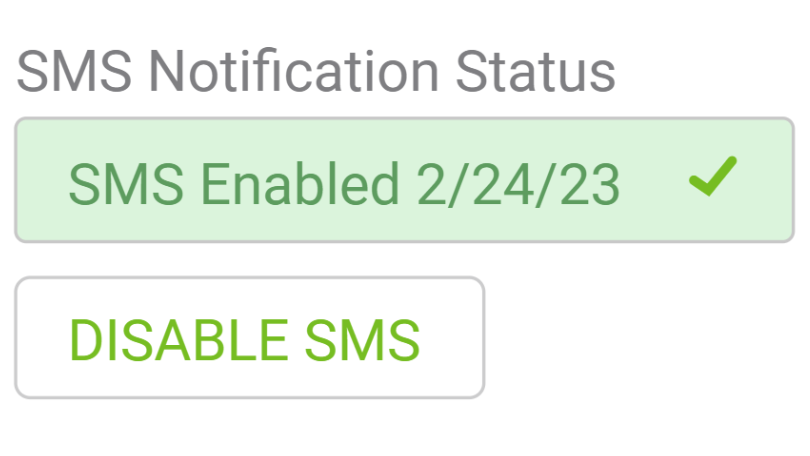
## **Receiving an absentee notification**
When an *Absentee Notification* is sent, Aspire sends only one message per template. If an employee is a recipient for multiple templates that share the same **Branch** and **Route** but have different **Grace Period** settings, they receive separate messages for each grace period.
> [!NOTE]
> **Note**: A message can only be received when the device is online.
## **Additional resources**
Aspire also offers email notifications. To learn how to set them up, see [*Using Email Notifications*](https://guide.youraspire.com/user-guide/docs/using-email-notifications).